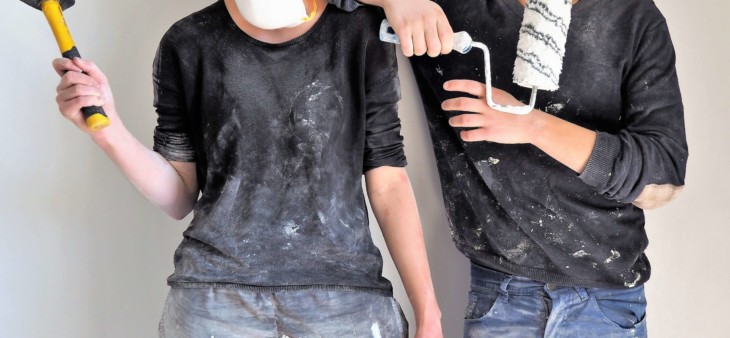
Many cabinet painting DIY videos make the process look simple and something that is easily accomplished, when in reality it is actually a tricky job. There is a lot of room for mistakes to be made along the way. That’s why, in the long run, it pays to hire a pro to take care of it for you.
If you do decide to tackle the challenge yourself and are suffering from a bad do-it-yourself paint job, here are some methods and tips for correcting some mistakes.
Fix #1: Start Over
Did you know that one of the most common mistakes when painting your kitchen cabinets comes from skipping steps when prepping the cabinets? These are probably one of the most important steps to ensure your cabinets look right after they dry. Kitchen cabinet painting can be an unforgiving technique that will show every flaw if it isn’t done correctly.
So if your cabinets feature blemishes like pooling in scratches or divots or paint drips and stroke marks, it’s probably best to start over from the beginning while following these best practices.
Sand Cabinets Before Painting
Go back to the basics and take the time to sand your cabinets. This will not only make cabinet surfaces more even, but it can also help the paint better adhere to the surface.
Repair Damage On Cabinet Surfaces
Rather than painting over any gouges, scratches, and other noticeable damage, sand them down before filling them in with a water-based filler product.
Take The Time To Clean Your Cabinets
As mentioned, one of the most important steps is prepping your cabinets. Grease, grime, dust, and wax can actually keep paint from going on smooth and sticking to your cabinet surfaces causing any imperfections to show. To avoid paint peeling and chipping in the future, apply a paint prep degreaser using a soft rag.
Prime Cabinets The Right Way
Never skip priming before painting. Not many people realize that there is a different kind of paint you should use on your cabinets compared to your walls. Don’t use a latex-based primer that is intended for walls – always use a water or oil-based primer instead.
Use The Right Technique To Apply Paint
To avoid unsightly brush strokes, use a roller or a sprayer. You should only use brushes for touch up or hard to reach areas.
Fix #2: Touch Up Cabinet Painting Mistakes
If you have a few spots that need fixing, rather than starting over, you can just remove the door or drawers that need attention and follow the steps above. For more minor blemishes, swipe a small amount of paint over the area and gently blend it.
Fix #3: Avoid These Common Mistakes
- As hard as it might be, take your time and don’t rush. It might take longer than you expected, so have plenty of time to do it right. Don’t cut corners, especially when it comes to prep work.
- Don’t overload the roller with paint – this can cause dripping and prevent the paint from going on evenly.
- Allow enough time for your cabinets to dry before handing them back up to avoid dings and dents in your paint job.
Fix #4: Have A Professional Handle Cabinet Painting For You
When it comes down to it, there is a lot that can go into the cabinet painting process, so it definitely pays in terms of time and money to enlist the help of a professional.
Don’t take a chance for your kitchen cabinet painting project to have mistakes. Let our team take care of your project needs so you can enjoy the results you are looking for in record time!
Avoid any DIY mistakes and schedule your FREE estimate today!


