
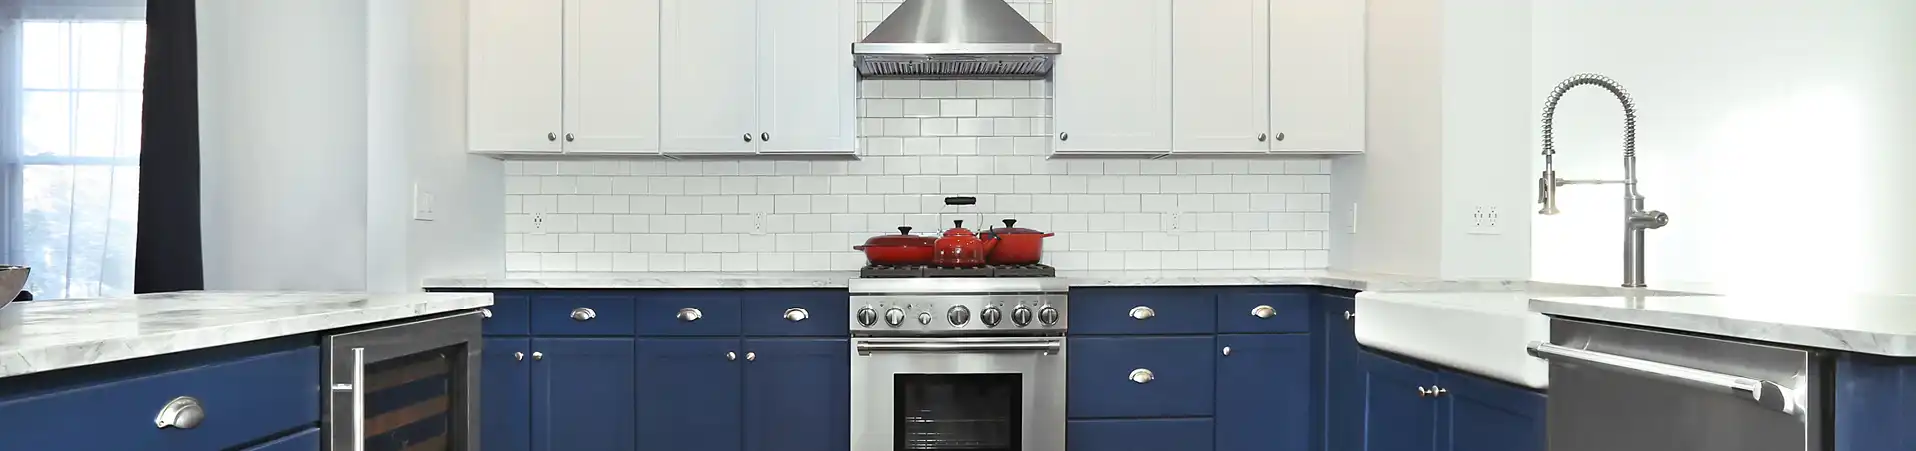
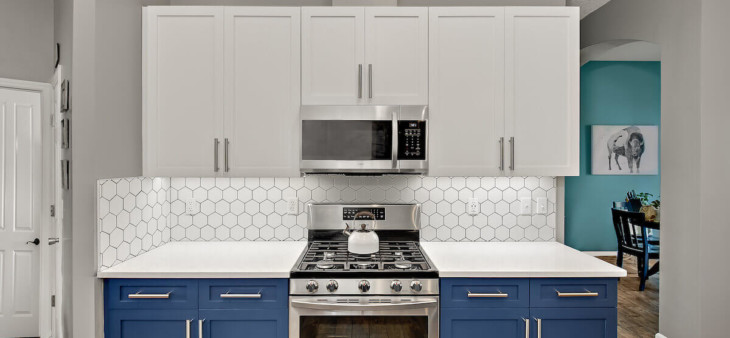
Kitchen cabinet refacing keeps the existing cabinet boxes and replaces or covers everything you see from the room: doors, drawer fronts, face frames, and exposed end panels. If you’re learning how to reface cabinets yourself, think of the job as two interlocking projects. First, you apply wood veneer or a matching finish to the fixed cabinet structure. Then you install new doors and drawer fronts over it. The measurements, colors, and reveals have to agree, or the finished kitchen will look pieced together.
What Cabinet Refacing Actually Means
Refacing sits between refinishing and full cabinet replacement. With cabinet refinishing, you keep the existing doors and update their finish. Full replacement removes the boxes along with the visible components. Refacing keeps the boxes but gives them new visible surfaces, making it a practical choice when you like the kitchen’s layout and the cabinet interiors remain solid.
That last condition matters. Cabinet refacing vs. replacement isn’t purely a style decision. Check for swollen particleboard around the sink, separating plywood, deep water stains, sagging bottoms, and cabinets that have pulled badly out of square. A little wear can be repaired. A box that feels soft or rocks when you pull on it is another matter. Covering structural damage with veneer is like putting fresh siding over rotten framing.
Refacing creates less demolition and disruption than replacing an entire cabinet run. It also lets you change the door profile, color, and hardware without rebuilding a layout that already works. The cost to reface kitchen cabinets is generally lower than full replacement, but the actual price depends on the kitchen, door selection, finish, and required repairs. For a project-specific comparison, request a free estimate.
Tools and Materials You’ll Need
A DIY cabinet refacing project goes much more smoothly when every cutting, measuring, and fastening tool is on hand before the first door comes down.
Tools
- Screwdriver or drill
- A second drill, recommended for switching quickly between predrilling and driving
- Oscillating multi-tool
- Laminate or veneer cutter, or a sharp razor knife with spare blades
- Veneer applicator roller or J-roller
- Speed square
- Measuring tape
- Sanding block or orbital sander
- Clamps
- Hardware installation jig or template
- Concealed-hinge jig or a 35mm Forstner bit if your doors aren’t pre-bored
Materials
- Self-stick wood veneer strips
- 1/4-inch plywood for exposed end panels
- Construction adhesive
- 3/4-inch finish nails
- Cabinet-safe degreaser
- Medium-grit sandpaper
- Wood filler or Bondo
- Shellac-based primer, such as Zinsser BIN, when painting stained wood a lighter color
- Matching paint or stain pen for touch-ups
- New doors and drawer fronts
- Concealed cup hinges compatible with the selected overlay
- Knobs, pulls, and other new hardware
- Painter’s tape and resealable bags for labels and screws
Step 1: Remove the Old Doors, Drawer Fronts, and Hardware
Empty enough of each cabinet to reach the hinge screws without balancing a drill against stacks of plates. Support each door with one hand as you remove its hinges, particularly on wide or solid-wood doors. Unscrew the hinges from the face frame or cabinet side, then lift the door away.
If you plan to reuse any hinges, label them with painter’s tape. Mark the cabinet location and the door position so each hinge can return to the place where it was originally adjusted. Old face frames aren’t always perfectly uniform, and mixing the hinges can create extra alignment work later. Put screws and small parts into labeled bags instead of dropping everything into the traditional DIY storage system: one mysterious coffee can.
Drawer fronts are usually secured from inside the drawer box. Pull the drawer out, support the front, and remove those screws. If the front is also glued, work slowly with a putty knife or oscillating multi-tool so you don’t split the drawer box.
Now inspect what the doors were hiding. Probe suspicious areas near plumbing, look along the tops and bottoms for warping, and check that joints remain tight. Minor dents and old screw holes are normal. Widespread swelling, water damage, or badly racked boxes are signs that replacement may be the better investment.
Step 2: Prep the Cabinet Boxes and Face Frames
This is where much of the real labor lives. Don’t rush it.
Start by cleaning every surface that will receive veneer, primer, or paint with a cabinet-safe degreaser. Pay special attention to the cabinets beside the range and the area around frequently handled doors. Kitchen grease can form a thin film that feels dry but prevents pressure-sensitive veneer from bonding. Change your cleaning cloth often so you aren’t simply moving grease from one stile to another.
Once the surfaces are clean and dry, scuff-sand them with medium-grit sandpaper. You’re trying to remove gloss and create a consistent bonding surface, not grind through the face frame. Vacuum the dust and wipe the surfaces clean.
Fill dents, old hardware holes, chipped corners, and deep grain defects with wood filler or Bondo. Let the repair cure fully, then sand it flush. Run your fingertips over the patch. If you can feel a ridge now, you’ll probably see it through the finished surface later.
Use a speed square to check the cabinet openings. A slightly racked box may be brought back into position with gentle clamping and reinforcement, but don’t force a weak cabinet into shape. Address loose joints before covering anything.
If you’re painting the face frames instead of veneering them, seal stained wood with a shellac-based primer such as Zinsser BIN. This helps block tannins and old stain from bleeding through a light finish. Sand between coats as the product instructions require, then apply paint that matches the new doors.
Step 3: Apply Veneer to the Face Frames and End Panels
Begin with exposed cabinet ends because their thickness affects how the face-frame edges meet the sides. Measure each end panel carefully, including the toe-kick notch. Transfer the measurements to 1/4-inch plywood and make a dry fit before reaching for adhesive. The panel should sit flush with the front edge and follow the cabinet’s top and bottom cleanly.
Apply construction adhesive to the back, position the panel, and secure it with 3/4-inch finish nails. Keep nails near the perimeter where possible, set their heads, and fill the holes. If a wall is wavy, scribe the rear edge rather than leaving a dark, uneven gap.
Next comes the face-frame wood veneer. Measure the width of every stile and rail instead of assuming they’re identical. Older cabinets often vary just enough to cause trouble. Cut the self-stick veneer strips slightly oversized using a laminate cutter or a fresh razor knife and a straightedge.
Apply the outer stiles first. Stiles are the vertical face-frame pieces, and the outer ones should run the full height of the cabinet. Peel back a small section of release paper, align the strip, and tack the top in place. Once the line is right, remove the remaining backing gradually while pressing the veneer onto the frame. Don’t expose the entire adhesive surface and then try to steer it. That usually ends with a crease or a strip stuck to your sleeve.
Roll the applied veneer firmly with a J-roller, working across the full surface and along both edges. Pressure activates the bond and pushes out small air pockets.
Install the horizontal rails after the stiles. Let the rail veneer overlap the stile veneer at its edges, creating clean intersections that follow the face-frame construction. Press each piece with the roller, then trim the overhang using a sharp razor knife held against the frame edge. Use several light passes instead of one hard cut, which can pull the grain or chip the veneer.
Inspect the corners from standing height. Touch up pale cut lines and exposed substrate with a matching stain pen or paint. If an edge begins lifting, stop and correct it now. Once doors are installed, those tiny defects become much harder to reach.
Step 4: Measure and Order Your New Doors and Drawer Fronts
Cabinet door replacement is the least forgiving part of refacing because a supplier builds exactly what you order. Measure each opening independently and record width before height every time. Use a simple cabinet diagram with numbered openings rather than a loose page of dimensions that could belong anywhere.
If you’re keeping the existing overlay, the safest shortcut is to measure your old doors and drawer fronts. Confirm that they fit correctly first. A crooked or undersized old door shouldn’t become the template for an expensive new one.
Overlay types and how they affect your measurements
Full overlay doors cover most of the face frame, leaving a narrow, consistent reveal. The hinge and door specifications determine the exact overlay at each edge. One common setup adds 1.25 inches on each side of an opening, but you must verify that dimension against your hinge and cabinet construction before ordering.
Partial or half overlay doors expose more of the face frame. The term describes several configurations, so it isn’t a universal measurement. Select the hinge and desired overlay first, then add that overlay to the opening dimensions.
Inset doors sit inside the opening rather than on top of the face frame. They require a controlled clearance around every edge and are especially sensitive to openings that aren’t square. Measure at the top, middle, and bottom, then size the door from the smallest usable opening.
Frameless cabinets work differently because there’s no traditional face frame. Overlay is calculated from the cabinet sides and the gap required between neighboring doors. Follow the door and hinge supplier’s specifications rather than applying a face-frame formula to a frameless box.
A simple measurement formula for each overlay type
For a single full-overlay or partial-overlay door, use:
- Door width = opening width + left overlay + right overlay
- Door height = opening height + top overlay + bottom overlay
With a verified 1.25-inch overlay on every edge, for example, you would add 2.5 inches to both the opening width and height.
For split doors over one opening, use:
- Combined door width = opening width + left outer overlay + right outer overlay − center gap
- Individual door width = combined door width ÷ 2
- Door height = opening height + top overlay + bottom overlay
For an inset door, use:
- Door width = opening width − left clearance − right clearance
- Door height = opening height − top clearance − bottom clearance
Use the clearances specified by your door or hinge supplier. Then measure again. And once more before submitting the order. Mixing up an opening size and a finished door size is a common, costly error.
Doors can be ordered raw for on-site painting or delivered pre-painted or pre-stained. With a factory-finished order, ask the supplier for the matching paint code or touch-up product so your face frames, end panels, and doors read as one installation rather than several close-but-not-quite colors.
Step 5: Install the New Doors and Drawer Fronts
If the doors arrive pre-bored, confirm that the hinge cup depth, setback, and location match your concealed hinges. If they aren’t bored, use a concealed-hinge jig and a 35mm Forstner bit to cut each cup hole. Set the drill depth carefully. Few workshop sounds are worse than a bit breaking through the front of a brand-new door.
Snap or screw the concealed hinge into its cup, then attach the mounting plate to the face-frame stile or cabinet side. Hinge placement is measured from the top and bottom of the door, but the mounting position on the cabinet must also account for the door’s overlay. Mark one test door, hold it in position, and confirm the reveal before duplicating those marks across the kitchen.
Use a speed square and a story stick or jig to keep mounting locations consistent. Two drills help here: keep a small predrill bit in one and the driver bit in the other. That avoids repeated bit changes and reduces the temptation to drive a screw without a pilot hole near the edge of a face frame.
A Kreg Cabinet Door Mounting Jig can act as a third hand, holding the door at a repeatable height while you drive the first screws. Start with a door in the middle of a run, adjust it, and use that reveal as your visual reference for the neighboring doors.
For each drawer front, place spacers around it or align it to your marked reveal. Clamp the front to the drawer box or temporarily fasten it through a hardware hole. Step back before committing. If the line looks right, drive the permanent screws from inside the box, making sure their length can’t penetrate the finished face.
Finish by adjusting the concealed hinges. Use their adjustment screws to move doors up or down, side to side, and in or out until the tops are level, the doors sit plumb, and the gaps look consistent. A professional-looking cabinet door replacement is judged across the whole run, not one door at a time.
Step 6: Add New Hardware and Finishing Touches
Install knobs and pulls only after every door and drawer front has been aligned. A hardware jig or rigid template keeps hole placement consistent. Test the jig on scrap first, then mark its orientation so it can’t be flipped halfway through the run. Predrill from the finished face with a sharp bit and support the back of the material to reduce tear-out.
New knobs, pulls, and hinges can sharpen the entire installation. Small details carry surprising visual weight. A handle sitting slightly higher than its neighbors will catch your eye every morning, usually before the coffee does.
If you planned glass inserts or under-cabinet lighting, complete that work now while touch-up supplies are still out. Then make a final pass through the kitchen:
- Confirm that door tops are level and reveals remain consistent.
- Open every door and drawer to check for rubbing or collisions.
- Press along veneer edges and corners to find any lifting areas.
- Tighten the hardware and hinge screws without stripping them.
- Touch up exposed cuts, filled nail holes, and small finish marks.
If the measuring, hinge boring, or surface preparation pushes past your DIY comfort level, searching for “cabinet refacers near me” is a reasonable next step. N-Hance of Brevard County provides professional cabinet door replacement and refinishing services across Brevard County and Indian River County. You can request a free estimate to compare the professional route with doing the work yourself.