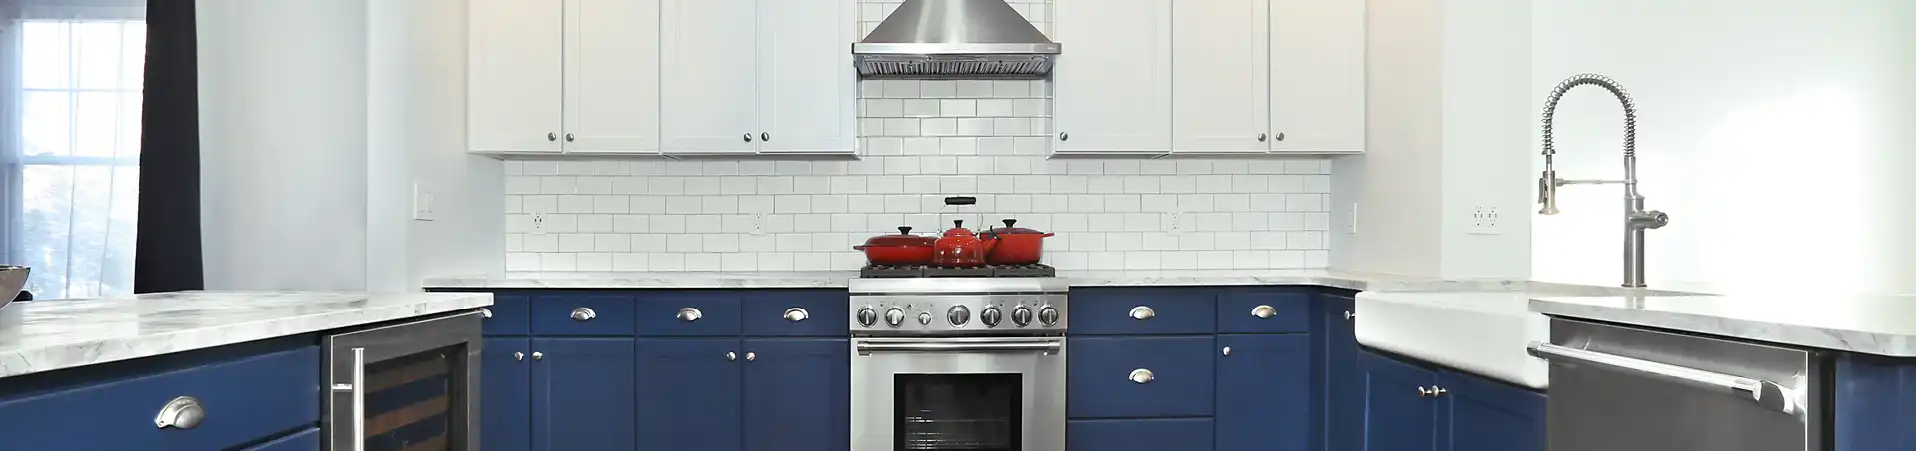

You can lighten and brighten your kitchen or add a touch of drama or elegance to the space in an affordable way simply by painting your kitchen cabinets. In fact, compared to a full cabinet replacement, cabinet painting is relatively inexpensive, delivering more bang for the buck.
That being said, there are a few tips to keep in mind to help you maximize this project in the heart of your home. Here’s a look at seven of them.
#1: Set Aside Enough Time
Painting your kitchen cabinets is less time-consuming than a full cabinet replacement. It can also do wonders for your kitchen, upgrading it without breaking your budget.
However, if you’re handling the job on your own, you need to account for the time it will take beforehand. The more cabinets you have, the more time it will take. Make sure you’re also factoring in enough time for prep, cleaning, priming, curing, and rehanging.
The lesson? Don’t tackle this project during a stressful or busy season in your life. This is not a project you want to rush. If you do, it will show through less-than-stellar results.
#2: Gather Supplies and Label Everything
Spend time researching products and tools to use during your kitchen cabinet painting project and gather them all before you begin. You don’t want to end up wasting time running back to the hardware store for a forgotten item.
Once you have all your supplies, remove the cabinet doors and drawers. You’ll be able to paint faster without having to work around hinges. Also, do yourself a favor and label everything, from each cabinet door and drawer to hardware if you’re reusing it. This translates into less frustration and guesswork at the end of your project.
#3: Prep Before You Prime
When it comes to painting your kitchen cabinets, don’t take shortcuts. This is especially true for prep work. Proper prepping leads to superior results.
You should budget prep time for cleaning and drying your cabinets so the grease, grime, dust, and dirt are completely removed and the cabinets are fully dry. This way, primer and paint will stick to the surface better, leading to a more durable finish.
Prepping your cabinets also means performing a light sanding. When you lightly sand your cabinets, it creates a rough surface by opening up the pores of the wood. This allows the primer to sink in and better adhere to the cabinet’s surface. This also means you will need to set aside extra time to remove all dust created by sanding, especially in any ridges or joints in your cabinets.
While it’s tempting, don’t just jump in and paint over your existing cabinet surface unless you want to deal with peeling or an uneven finish. Take the time and care required for proper prepping and reap the results in the form of a smoother, longer-lasting finish.
#4: Prime Before You Paint
Choose the right primer for the job. This means one that is engineered for cabinets, typically a water-based primer. This type of primer provides good coverage that will block out any bleed-through from the existing color.
#5: Use a Sprayer
Because kitchen cabinets experience a lot of wear and tear, you need a finish that can withstand heavy foot traffic. Using a sprayer to paint your kitchen cabinets is the best way to achieve a smooth, durable cabinet surface and long-lasting finish.
Even if you have a quality paint product, using a brush often leads to a thicker layer of paint that easily peels or chips off. Be sure to spend some time practicing with the sprayer before turning to your cabinets. Sprayers can be tricky to use and using the right touch will help to ensure a smooth finish.
#6: Sealer: Do or Don’t?
A clear coat of sealer isn’t necessary, but it will improve the durability of the final finish and increase its lifespan. A sealer will protect your newly painted cabinet doors and drawer fronts by creating an additional layer between the paint job and your busy life. As a result, your cabinet paint will stand up better to the busy kitchen environment.
Just make sure the product you choose is meant for cabinets. In addition, if your cabinets are painted white, ask a professional which sealer to choose because certain sealers can cause yellowing over time when applied to white cabinets.
#7: Allow for Cure Time
There’s a difference between drying and curing. Drying typically takes a few hours. Curing, on the other hand, will take days. Wait a minimum of 48 hours before touching your cabinets and attempting to rehang the drawers and door fronts. Even if your cabinets look and feel dry after a few hours, it takes longer for the paint to fully cure all the way through.
Does all this feel too daunting? DIY videos and blogs often make the process of cabinet painting look easy. It’s not. It takes time, effort, and patience. The other concern is that if it doesn’t go well, you may be forced into hiring a professional to fix the work or buying new cabinets altogether.
Another Option: Hire a Professional Cabinet Painter
If you’d like to avoid all these steps and simply get beautifully painted cabinets, hire a professional painter instead. At N-Hance®, we have the expertise, products, and equipment to complete your cabinet painting project in just a few days.
Throughout the process, whether we’re cleaning, priming, or painting, we use proprietary products manufactured exclusively for use on cabinets. We also rely on our exclusive Lightspeed® Nano UV technology to cure your cabinets in seconds, not days. This means minimal downtime and disruption to your family. Meanwhile, you can focus on your busy life while getting cabinets that are refreshed and renewed in a way you love.
Let our team tackle kitchen cabinet painting, quickly and affordably, while you focus on other priorities. Call N-Hance today at (855) 642-6230 for a FREE consultation and price quote.