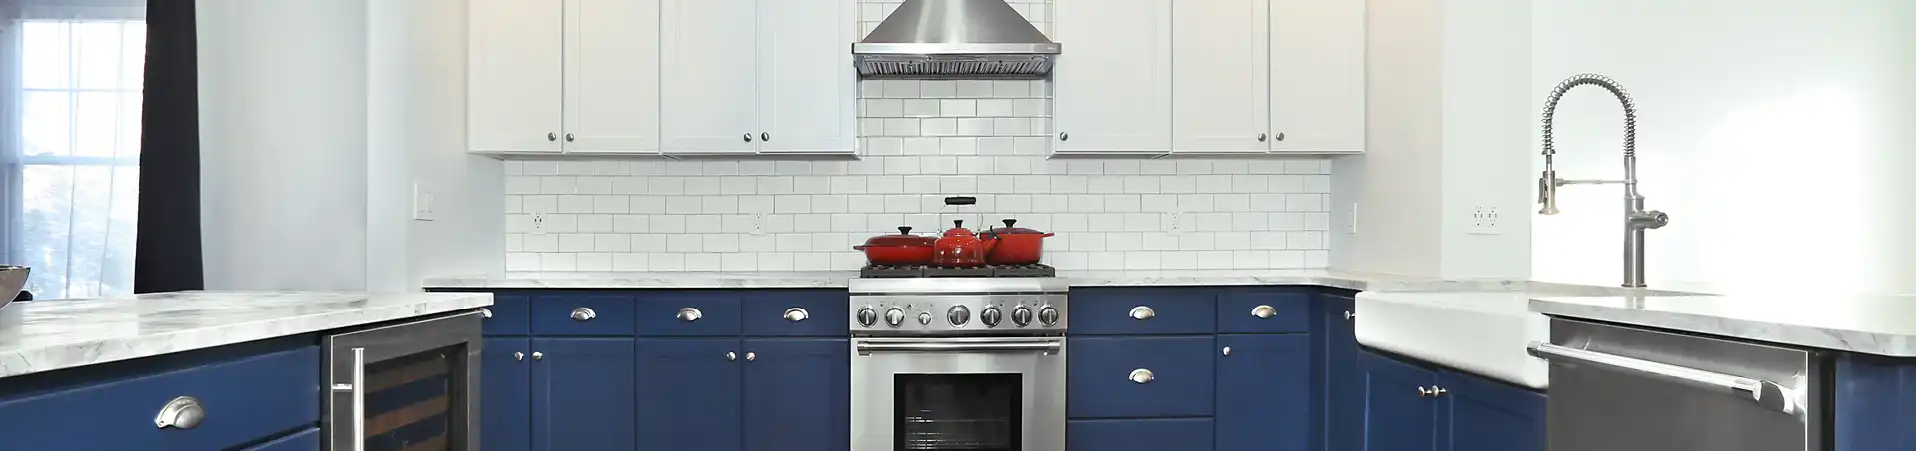

Cabinet painting isn’t always as simple as it’s portrayed in DIY videos and on home improvement TV shows. There are countless decisions you have to make, from how to prep your cabinets to the paint product you select to how you apply it. One wrong move can quickly lead to a DIY disaster.
The good news is that cabinet painting missteps are usually fixable. Depending on your specific situation, here are a few ways to find the silver lining and achieve beautiful results:
Fix #1: Start From Scratch
Painting your cabinets can bring out every little flaw and imperfection. For instance, if the surface isn’t properly prepared or if paint gets rolled on unevenly, it pools into every scratch and divot, highlighting each one. In addition, if you don’t use the right tools and techniques, you’ll wind up with drips and visible stroke marks.
If you’re seeing many blemishes like this, then you’re best off starting from scratch. While this is the most time-consuming option, you’ll have a chance to approach the job correctly once again. When you do, make sure you’re following cabinet painting best practices to avoid repeating the same mistakes. These include:
Sanding Cabinets Before Painting
Before you attempt to paint again, get back to basics. This starts with sanding your cabinets to eliminate those brush marks, drips, or other flaws you’re seeing. Sanding thoroughly will also help your new paint to better adhere. You don’t have to get down to the bare wood. Simply make sure you’re eliminating those imperfections, so you have a smooth surface to paint on.
Repairing Damaged Areas
If there are more serious scratches, gouges, or any other damage on your cabinets, covering them up with more paint won’t fix the problem. It will simply underscore it. Instead, sand these areas down, then fill them in with a product, such as a water-based wood filler.
Cleaning Cabinets Carefully
If there is any grime, grease or wax build-up – or particles left from the sanding process – the paint won’t stick properly. You’ll see inconsistent coverage, as a result, in addition to future peeling. To properly clean, though, you have to go beyond just soap and water alone. Instead, use an actual paint prep degreaser and a non-scratch rag to wipe down your cabinets.
Prime Cabinets Properly
Skipping the priming process is a recipe for disaster. If you made that mistake last time, don’t do it again. Also make sure you’re choosing the right product to prime cabinets, such as a water- or oil-based one. If you use a latex-based primer, paint won’t stick and results won’t be durable. It will lead to peeling and other damage down the line.
Apply Paint Correctly
Paint brushes should be used for hard-to-reach areas or for touch-ups, not for drawers and door fronts. Otherwise, you’ll see strokes in the finished product. Instead, consider a roller or a sprayer. Keep in mind though, operating a sprayer takes a certain level of skill and expertise. If you’ve never used one before, you’ll need to practice first.
Fix #2: Touch Up Spots to Fix Them
If there are only a few areas that don’t look quite right, then you can simply touch-up or fix those spots. Whether they’re on doors or drawer fronts, remove them and follow the process of sanding, cleaning, priming, and painting those once again.
If it’s just a few minor locations here and there, try swiping a bit of paint over the flaw and blending it in gently to the surrounding area. If the problem is on the inside of a cabinet door or drawer, you can simply use a paint brush to touch it up.
Fix #3: Avoid Common Mistakes
Whether you need to start your cabinet painting project over again or you just have to fix a few areas, avoid common mistakes, such as:
- Overloading the roller with paint. This can cause paint to drip and also lead to inconsistent coverage.
- Cutting corners or skipping steps. Keep in mind, professional painters typically spend the majority of time on prepping – sanding, cleaning, and priming – all to ensure the best possible end result.
- Rushing drying time. It can take cabinets days to dry. Rushing to hang them back up before they’re fully cured will likely lead to smudges in the paint.
Fix #4: Hire a Cabinet Painting Company
At the end of the day, if you make additional mistakes, cabinet painting on your own is going to cost more than hiring professionals. In addition, it will be a frustrating process for you.
Rather than taking chances, consider handing the job off to professionals. Before you do, though, make sure you research cabinet painting companies and also ask to see before-and-after pictures so you can check the quality of their work.
The good news? When you do find a cabinet painting company that’s a fit for you, they’ll often be able to complete your project faster than on your own. In addition, many offer options for financing, making professionals services more affordable too.
If you’d like to add N-Hance® to your list of cabinet painting experts to consider, we invite you to reach out to our team and schedule a free consultation. We’ll talk about your existing cabinets and the many ways we can bring them back to life, beautifully transforming your space in the process. We’ll also explain all your options, providing you with samples and price quotes, so you can make the best decision going forward.
Our typical cabinet painting project turnaround time is approximately 5 days. If you’re ready for a fast and beautiful fix to your DIY mistake, simply call your local N-Hance at (855) 642-6230 today for a FREE estimate.